
My Skill
Google Earth
0%
In this section, You will be guided on how to make the most out of Google Earth and how to unlock the tools needed for your project.
- First Steps, go to https://www.google.com/earth/ and set up an account.
- Select Launch Earth. It will load and then take you to a new portal.
- When you enter the portal it sometimes can re-direct you to USA or Europe the more commonly used maps so navigate your way back to your area of interest
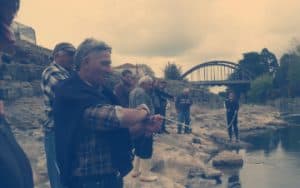
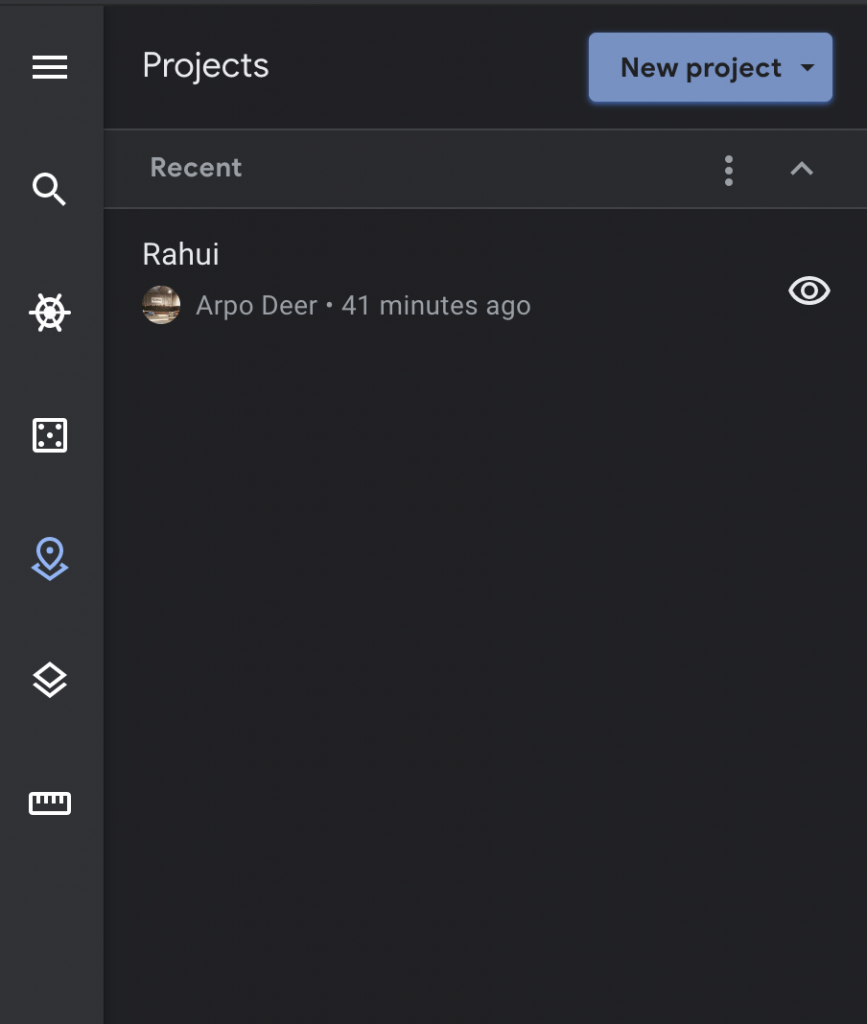
My projected is a Rahui that I think is a must. Here is how I made it, note I am making mine super basic fot the lesson.
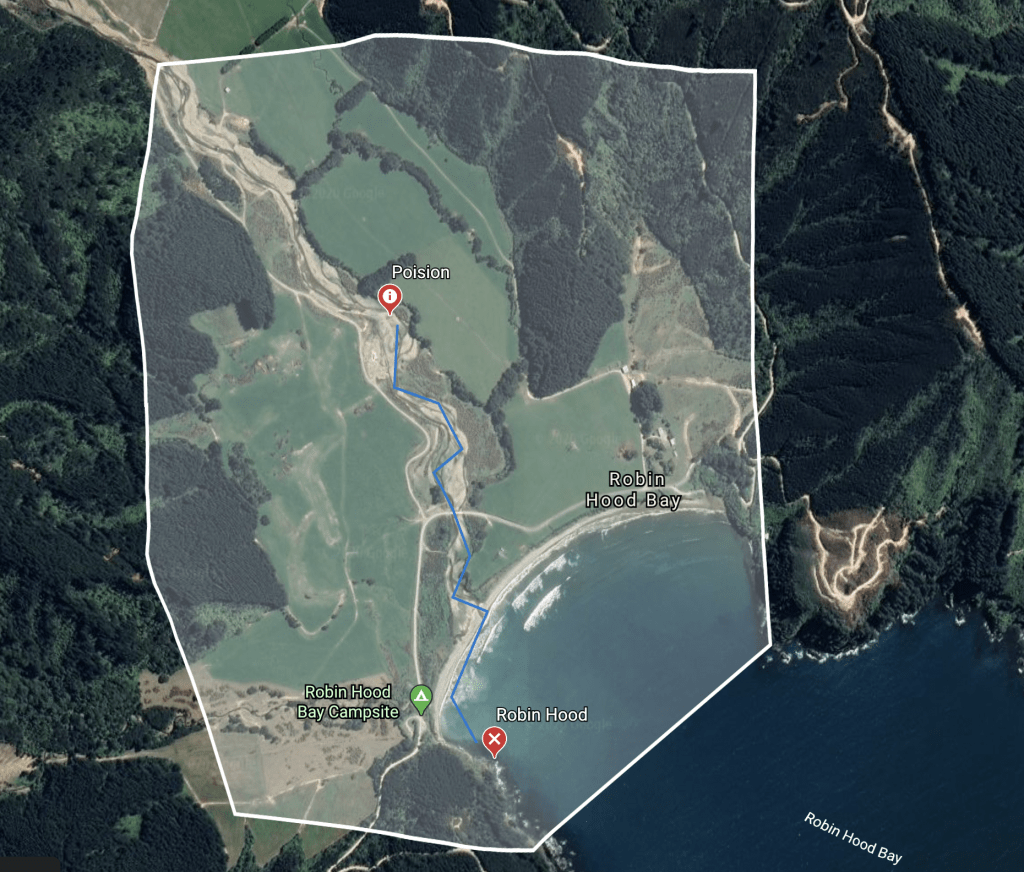
In my project I have taken into consideration poisons from farmers that pass into the Awa and from there it flows into the Moana. (This is just an example, there is no proof that there are any poisons that have affected the whenua.)
- The white markings is the area.
- Blue is the connection from poisons to the sea.
- Red X marker on Robin Hood is clickable option for more content.
- Red Poison marker is for clickable content on poisons etc.
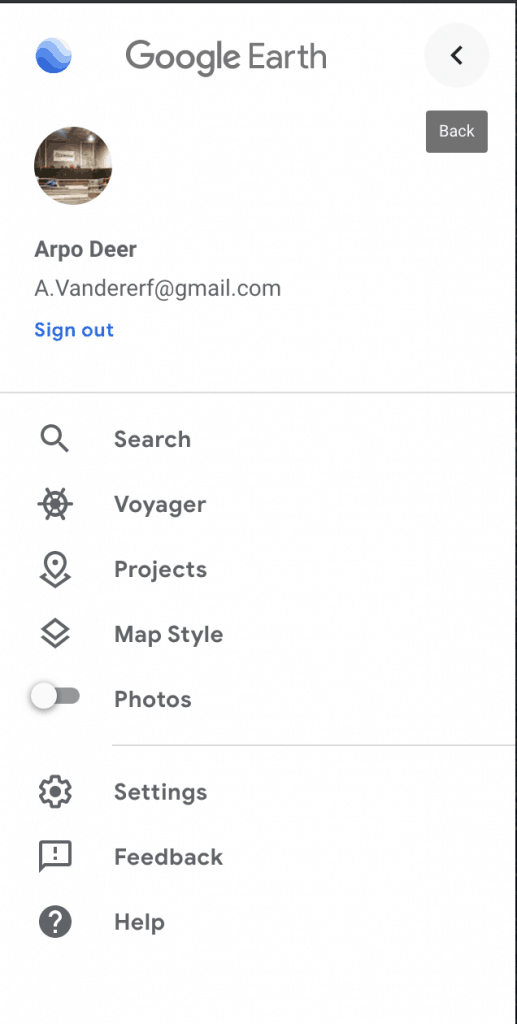
Above is where your project is going to be brought to life, Click the (burger icon) at the top, then click on ‘Projects’.
Add in your project, it can be weird to navigate at the beginning or getting use to the dimensions and handling so mu details are here.
Arpo Deer
02102982312
arpo@vanishingpoint.studio
Please don’t hesitate to contact me if needed, and remember there are no silly questions.

- Click on the ‘New Feature’ Button.
- Start by mapping the area your project is in, Click ‘Draw Line or shape’ and map it out.
- Use a place marker to name area.

- Choose different markers to represent what you are working on.
- The more descriptive you are the more easier it is to demonstrate to others.
Follow this link and create an account. We may have to do this course online at some stage. Please don’t stress this tool will help you down the track with presenting your project.